iIn this article, you'll learn how to:
Creating realistic AI talking videos can feel a bit like gambling. Sometimes you hit the jackpot on the first try. Other times, after generating 10–15 images and videos, the AI suddenly decides to ignore everything you asked for and your credits disappear faster than your patience.

That unpredictability can be fun at first, but it quickly turns frustrating when you're trying to produce reliable, high-quality content for ads, e-commerce, or social media.
I've generated hundreds of images and talking videos on The Influencer AI and yes, I've seen some truly bizarre results along the way. The good news? After enough trial and error, clear patterns emerged.
If your AI talking video looks weird — blurry mouth, uncanny lip sync, or plastic skin — this workflow fixes it.
Understand the video workflow
To get great results, it helps to understand how a talking video is created using The Influencer AI, our AI influencer generator.
The process of creating a talking video has four main steps:
Choose your AI Influencer
- Use a ready-made template
- Create one with the Influencer Builder
- Or upload 10+ photos to clone yourself
Generate a base image
- This image becomes the starting frame of your video
Turn the image into a video
- Generate motion with a video prompt
Add the script to generate the lip sync
This separation of step 3 and 4 isn't accidental — it gives you far more control and better results than doing everything in one step.
At the end, I'll also show you the final video created using this exact workflow.
Start With the End in Mind (Have a Script)
Before generating anything, ask yourself:
- Does the influencer need to talk?
- Are they walking or standing still?
- Are they holding a product?
- Is this a close-up, medium shot, or full-body shot?
Your answers will directly affect how the base image should look.
Skipping this step is one of the fastest ways to waste credits.
For Better AI Talking Video Results, Start With a Smiling Base Image (Teeth Showing)
This is critical.
If the AI influencer will be talking, generate the base image with:
- A natural smile
- Teeth clearly visible
Why? The video model needs to understand what the teeth look like before animating speech. If the teeth aren't visible in the image, you may end up with:
- Yellowish teeth
- Blurry mouth movement
- Unnatural lip sync
Unless you're going for the before and after effect for a whitening ad, show the teeth early.
1. Photo has a subtle smile without visible teeth
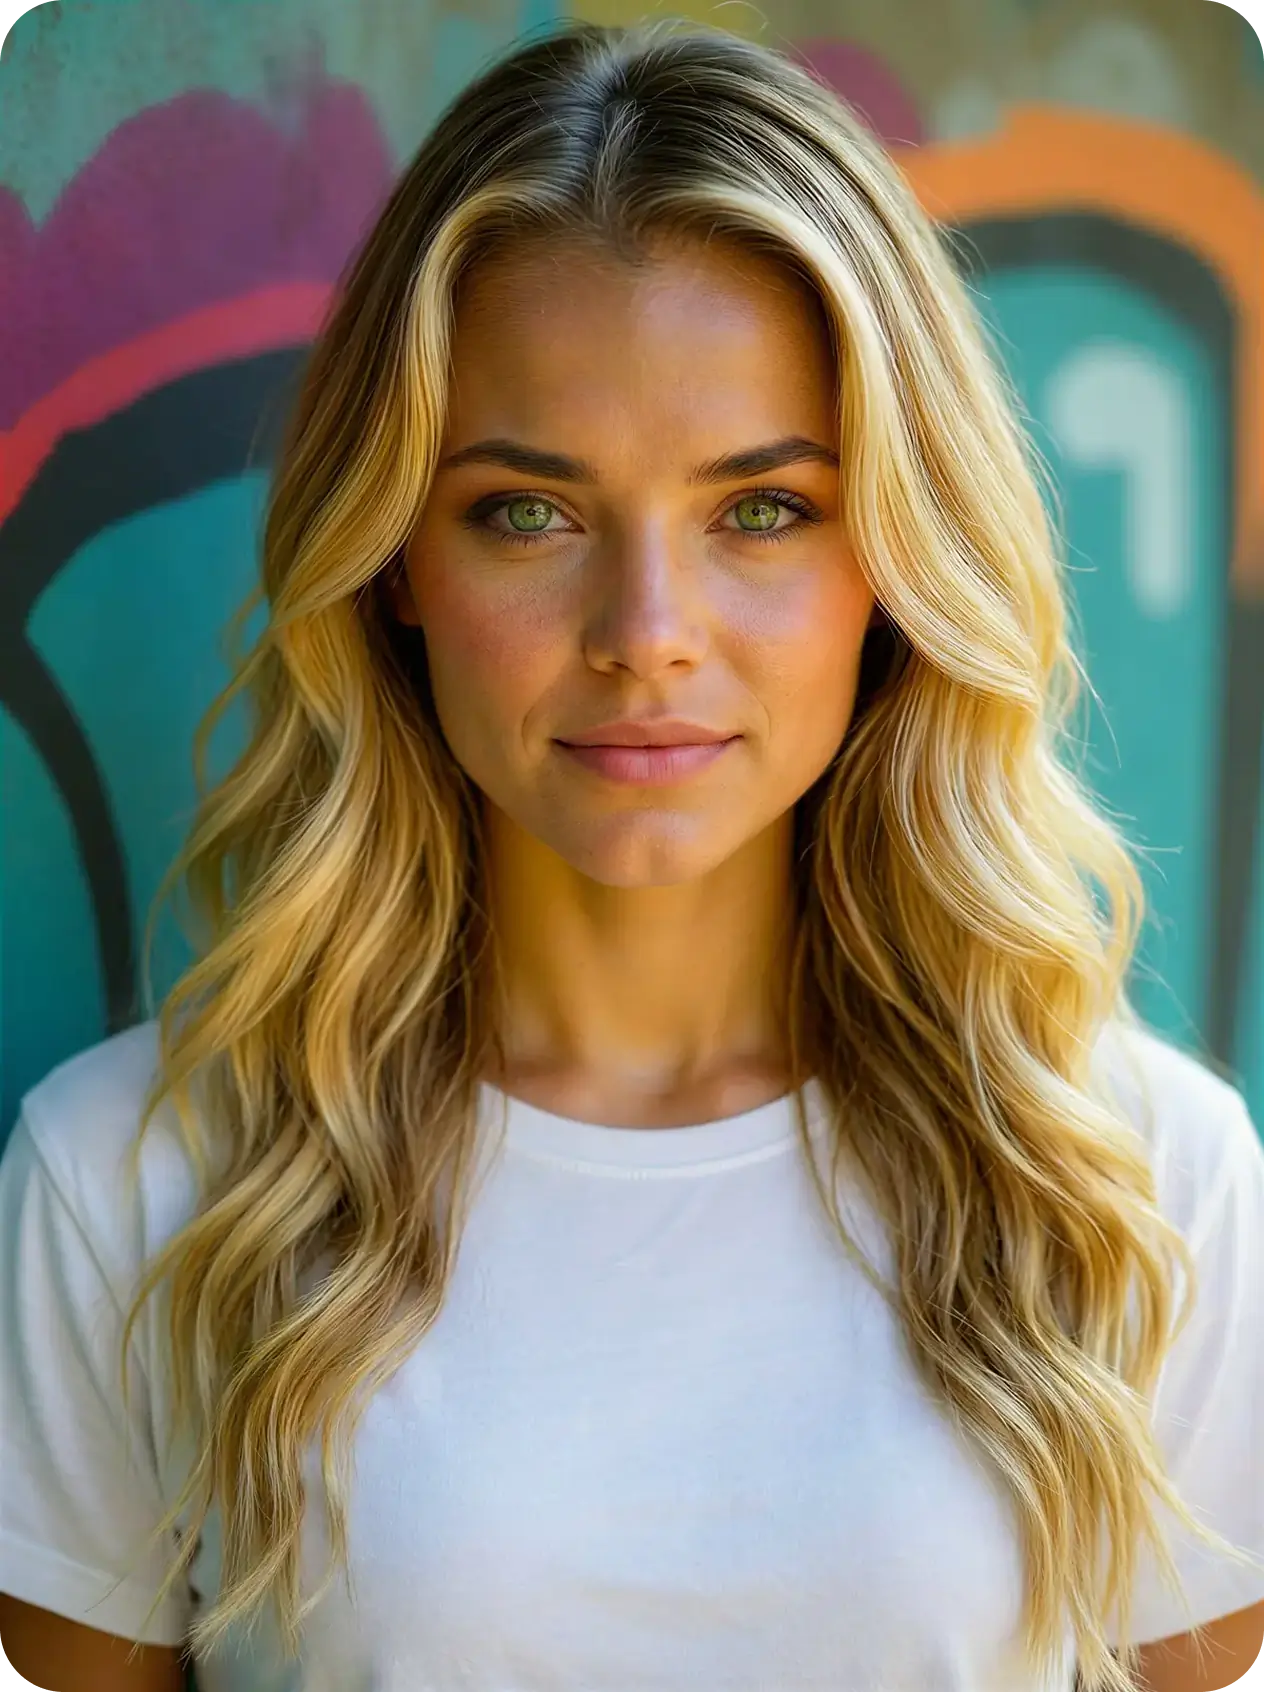
Base photo
2. The teeth generated directly in the video are too yellow
Resulting video
1. The photo shows the woman with a big smile and visible teeth
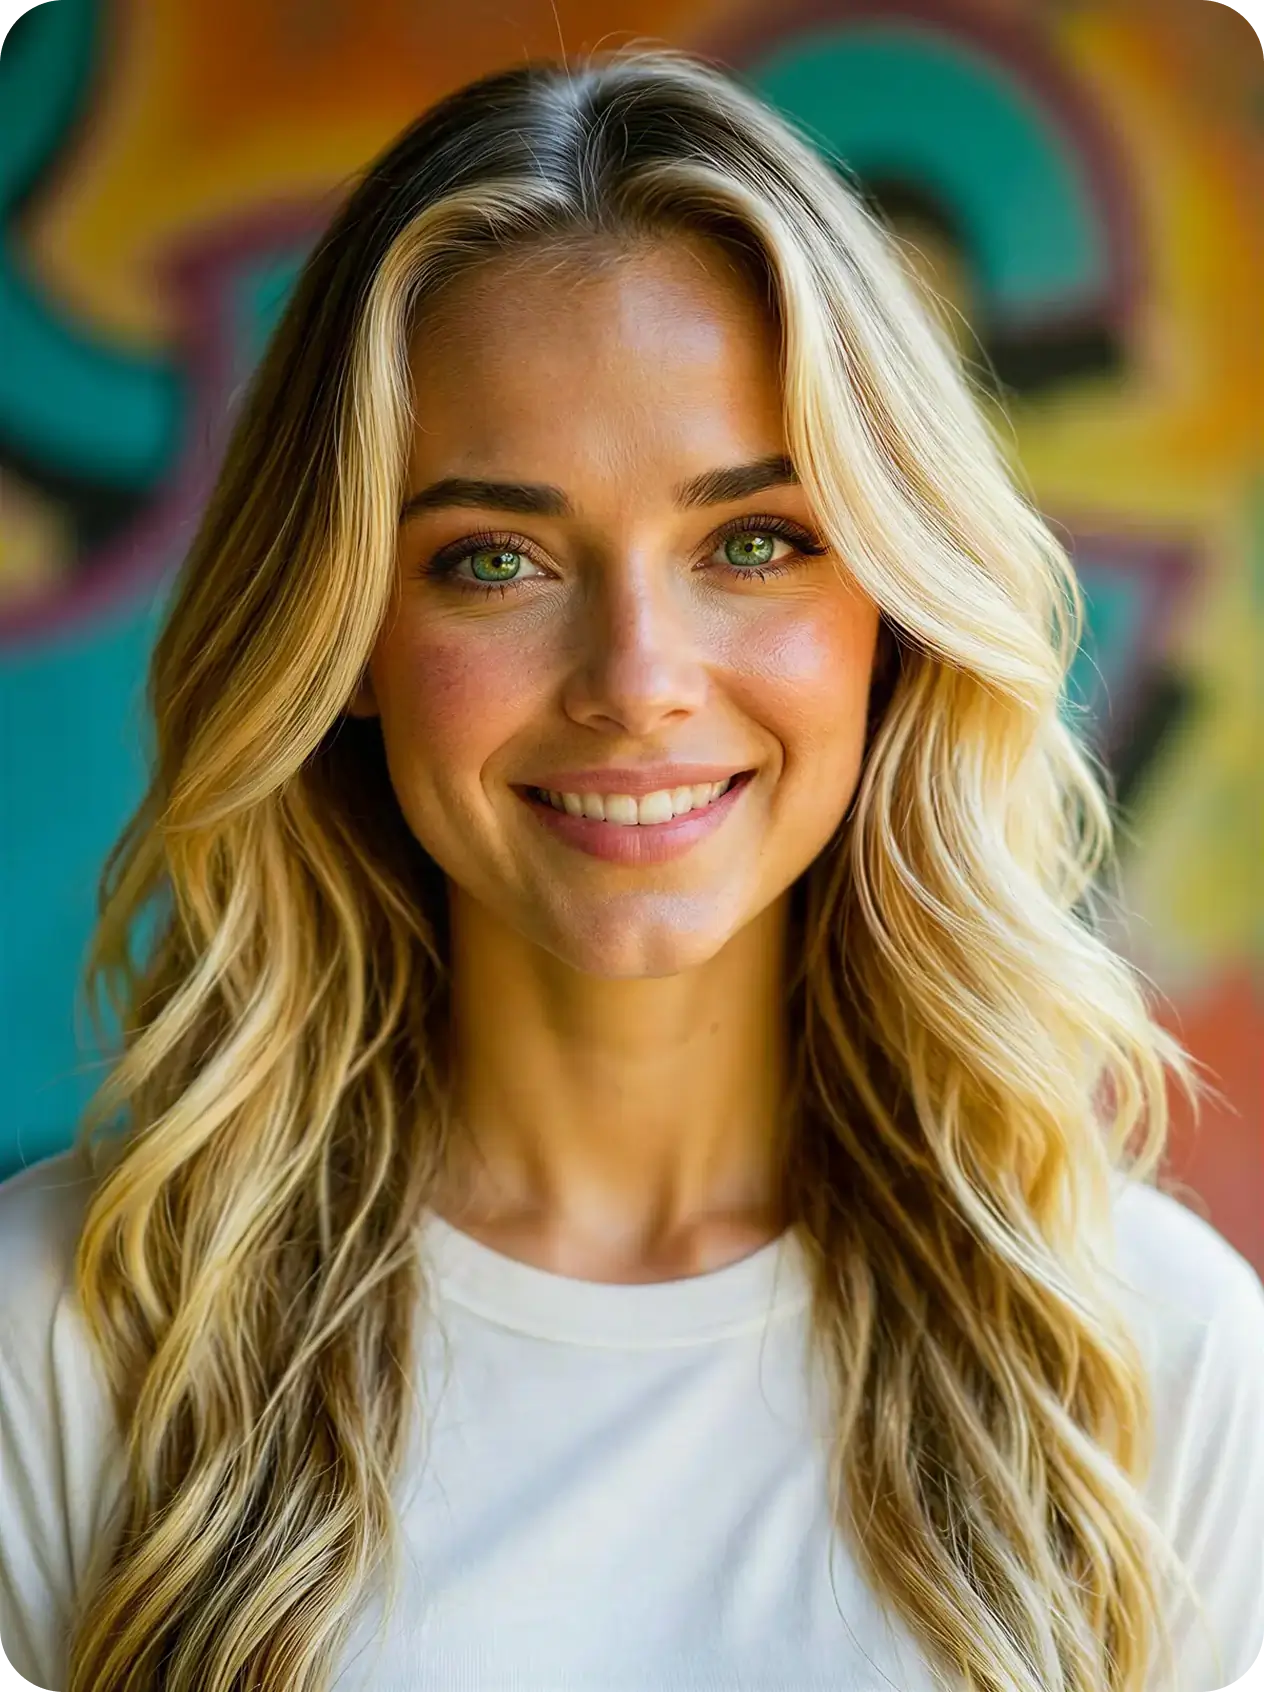
Base photo
2. The video generated shows naturally looking teeth
Resulting video
Prompt the AI Video Generator That the Person Is Talking (Improves Lip Sync)
When generating the base video (before lip sync), include this phrase in your prompt:
"The person is talking."Even though lip sync comes later, this makes a huge difference.
Why?
On The Influencer AI, video generation and lip sync are two separate steps. This gives you better control, but it also means you should prepare the video correctly.
By telling the model the person is talking:
- Mouth movement becomes more natural
- Lip sync aligns better with speech
- The final AI talking video feels far more realistic
1. The video prompt doesn't mention that the woman should be talking
Video Prompt
"Woman smiles to the camera"
2. Generated lip sync doesn't look realistic
With lip sync applied
1. The video prompt mentions that the woman should be talking
Video Prompt
"The woman is talking to the camera"
2. Lip sync looks realistic
With lip sync applied
Want the AI Influencer to Walk? Pose Them Mid-Step
If your video involves walking, don't start with a stiff, standing pose.
Instead:
- Generate the base image with the influencer mid-step
- Body slightly leaning forward
- Natural walking posture
This way, the video starts with motion immediately — instead of awkwardly transitioning from standing still to walking.
Small detail. Big difference.
1. The base photo shows woman standing
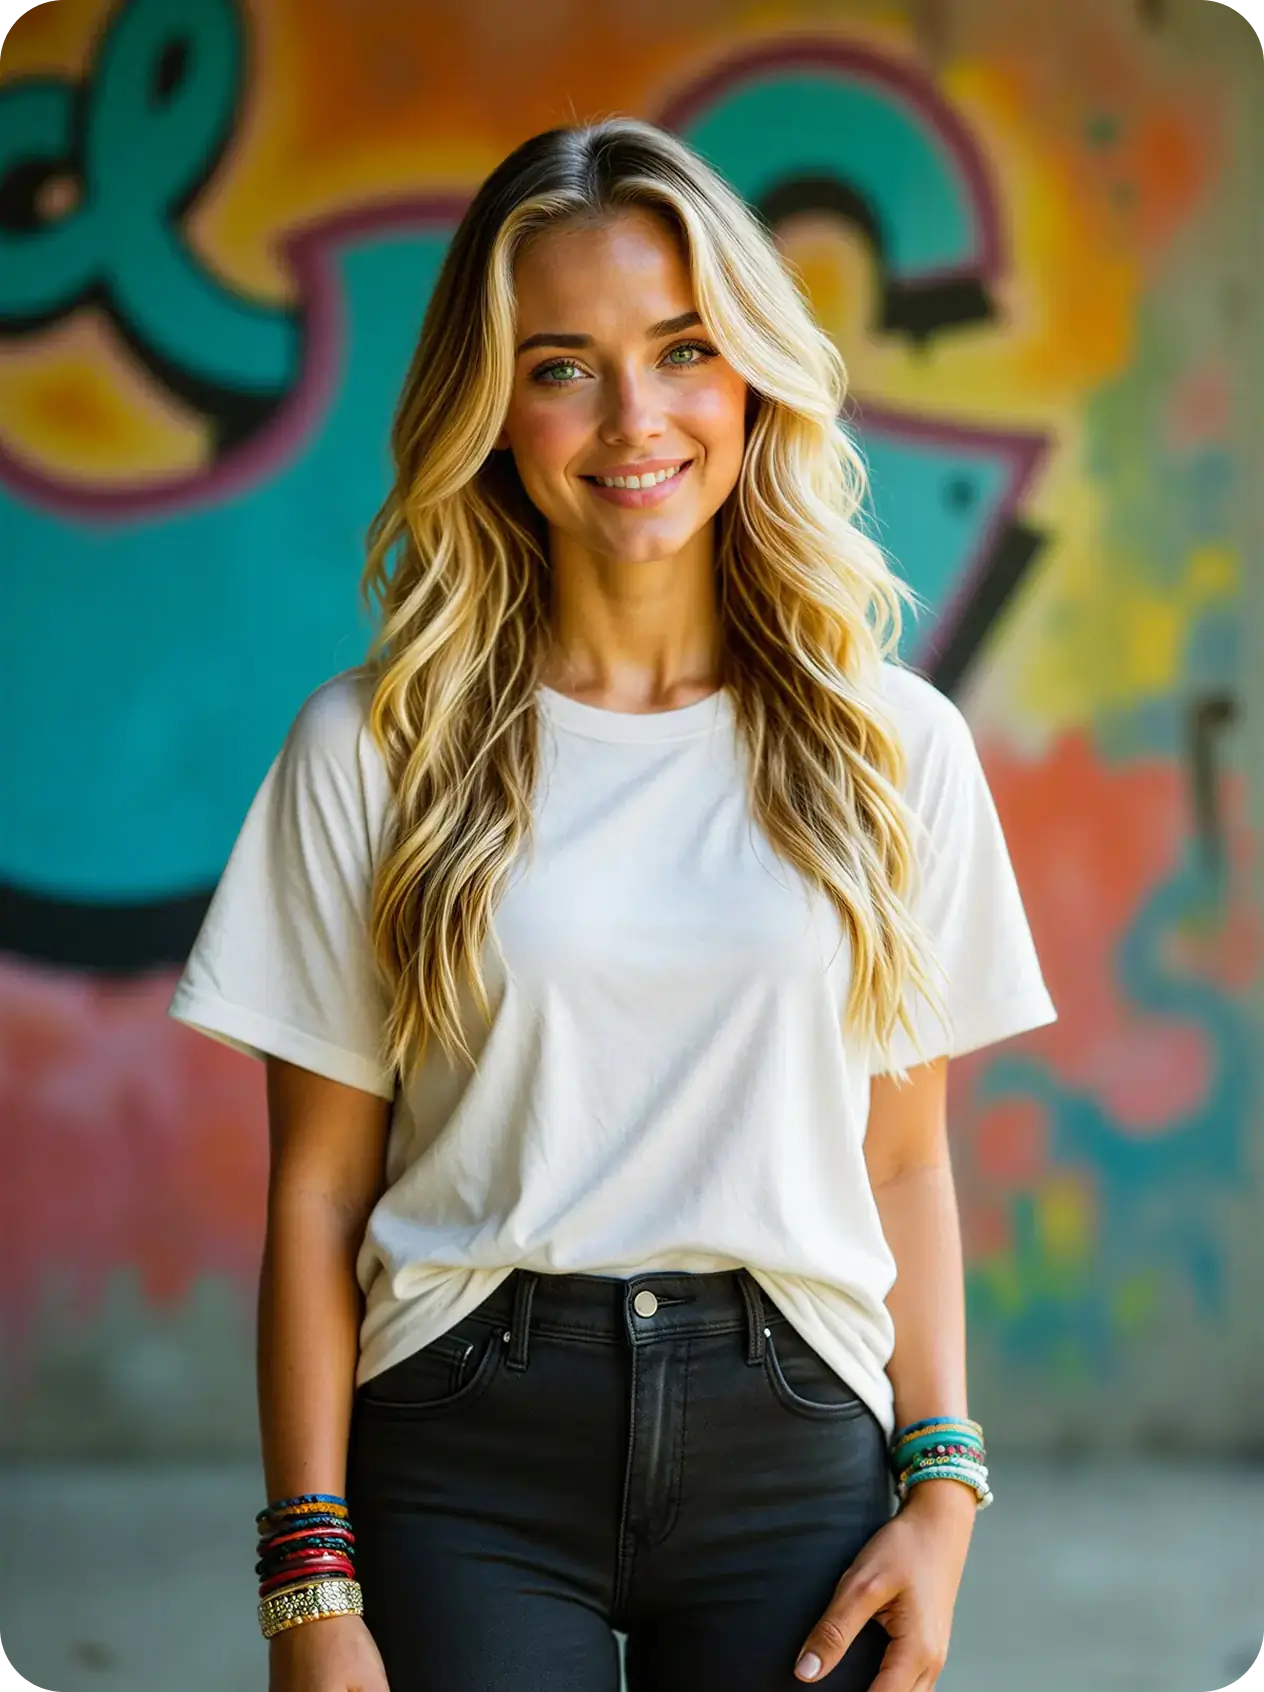
Base photo
2. In the video the woman starts off standing and then begins to walk
Video Prompt
"The camera is zooming out slightly. The woman walks towards the camera and talks smiling"
1. The base photo shows woman mid-step
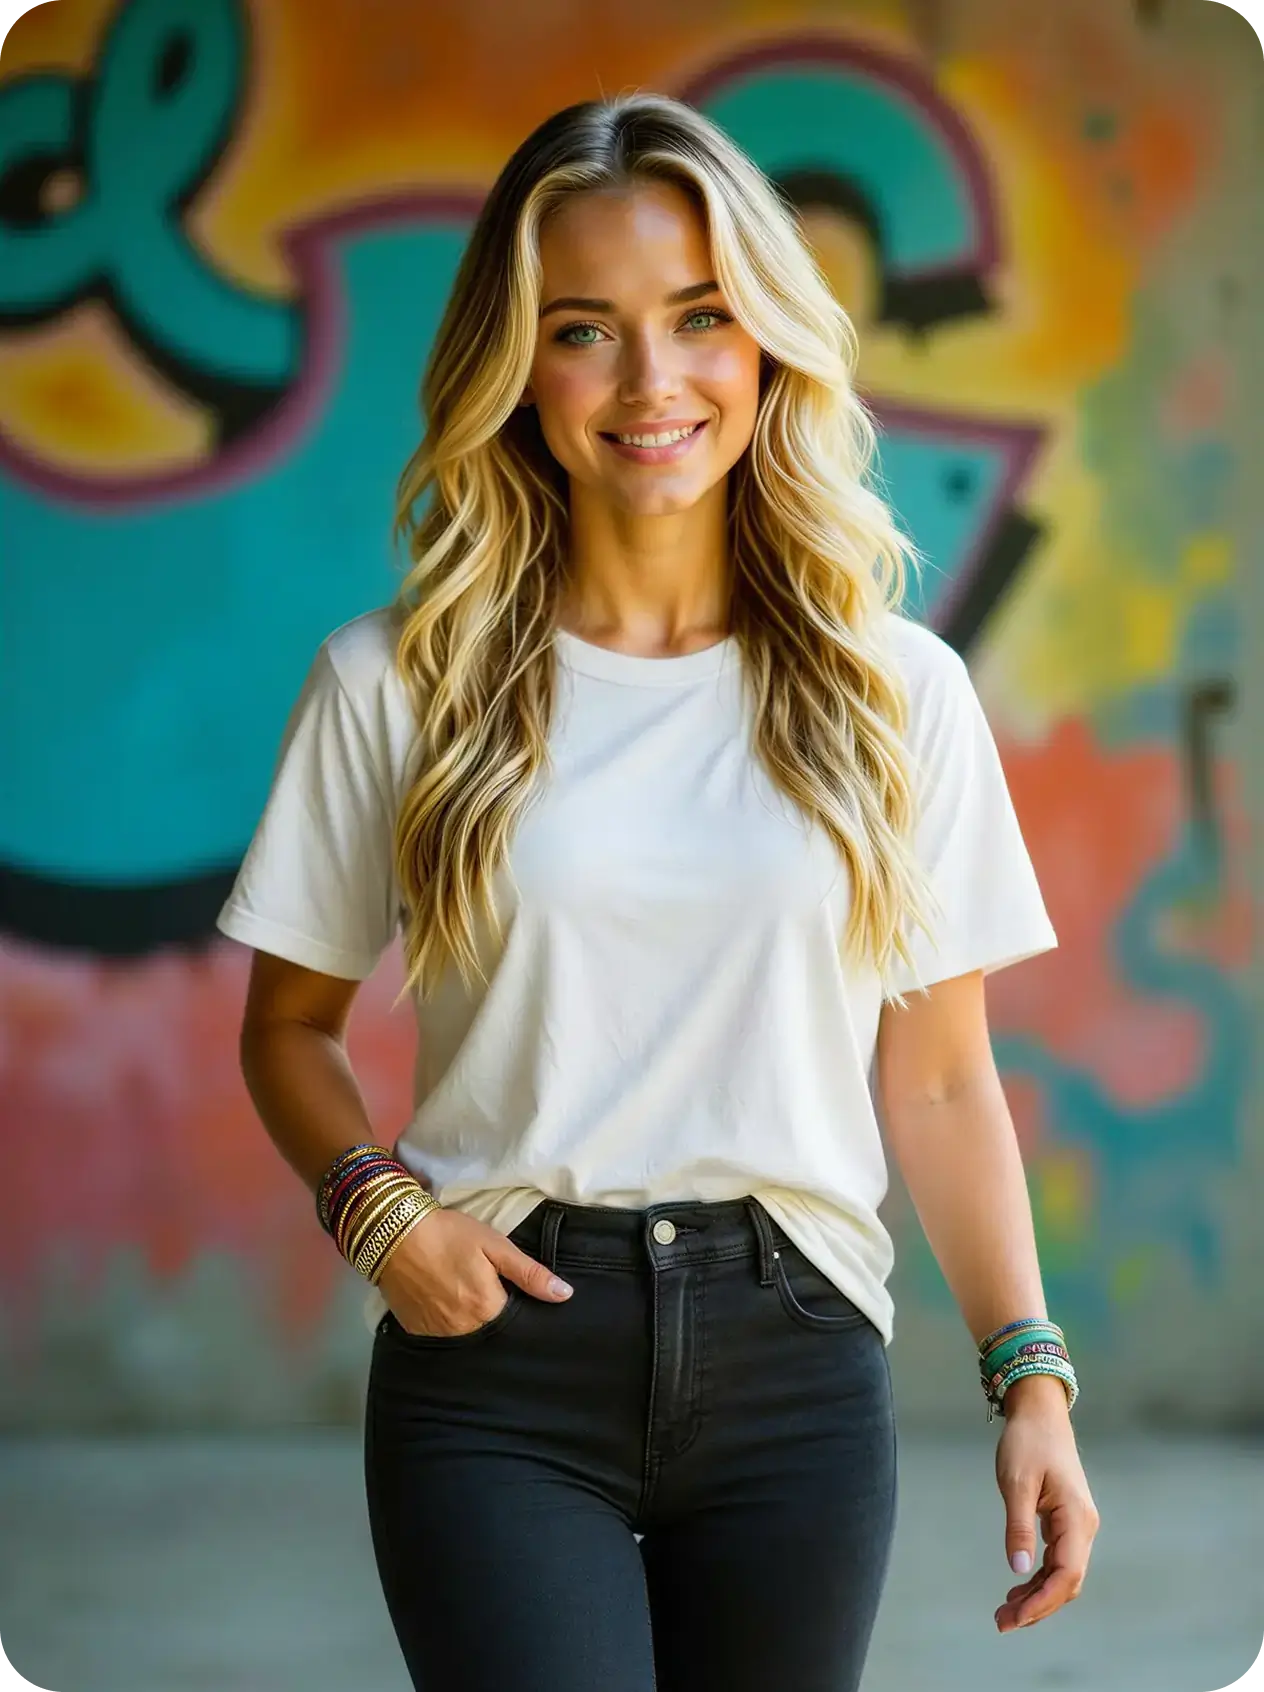
Photo Edit of base photo
"Change her pose as if she's walking. Put her hand with the golden bracelet in her pocket. Keep everything else the same"
2. In the video the woman walks immediately
Video Prompt
"The woman is walking towards the camera and talking. At the end she smiles gently. The camera zooms out"
Image Looks Too "AI-Perfect"? Make It Real.
If your image feels overly polished or artificial, use Edit Photo with this prompt:
"Make it real, fix the lighting, fix the textures."Important settings:
- ✅ Keep Maximum Fidelity enabled
- After editing, use Upscale to sharpen details
This combo is perfect if you're aiming for:
- More natural skin texture
- Realistic lighting
- Less "AI gloss"
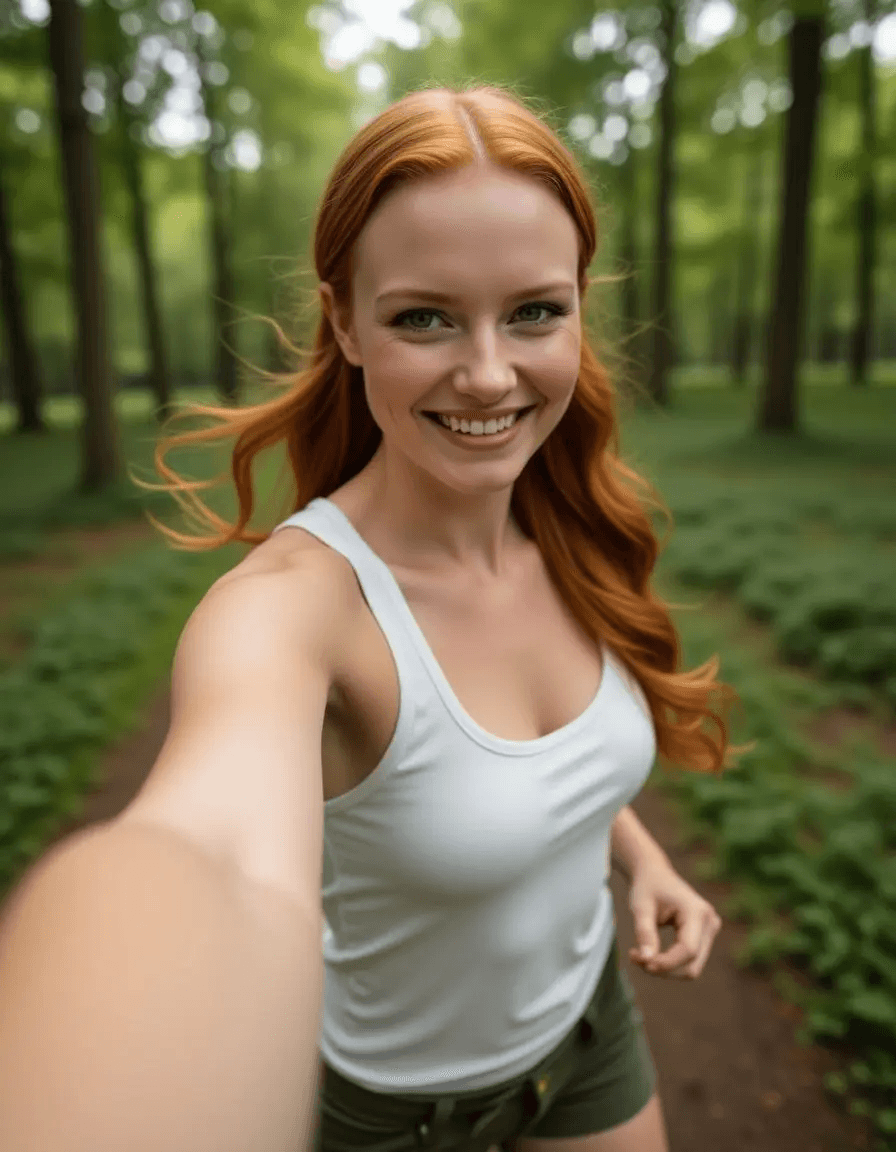
Photo Prompt
"A GoPro selfie of a woman running through a forest. She's wearing a white Tanktop and green military shorts. She's smiling"
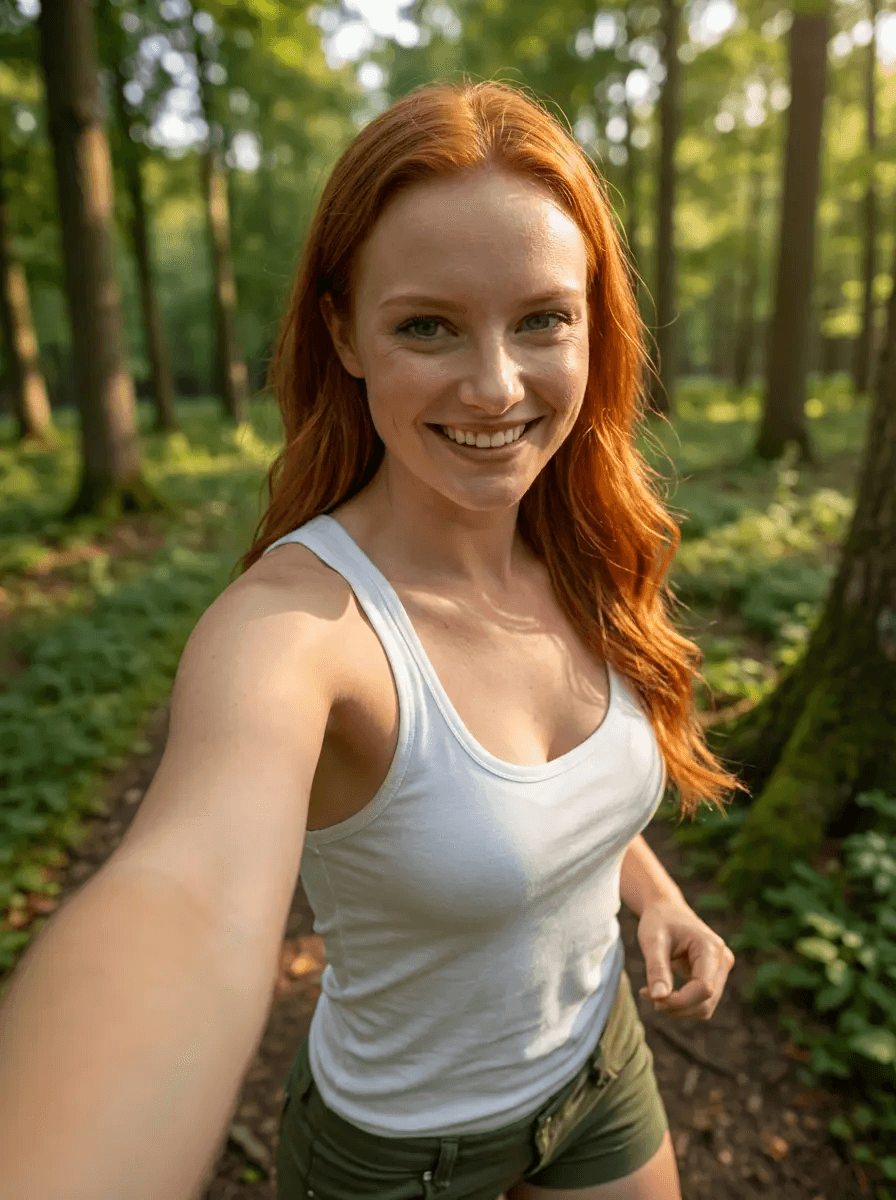
Photo Edit
"Make it real, fix the lighting, fix the textures"
It's also possible to improve a specific area of the photo. For example, if you insert your product into the image by using Combine Image with AI feature, and you are not satisfied with the look of this product, you can easily improve it by using this prompt in the Edit Photo feature:
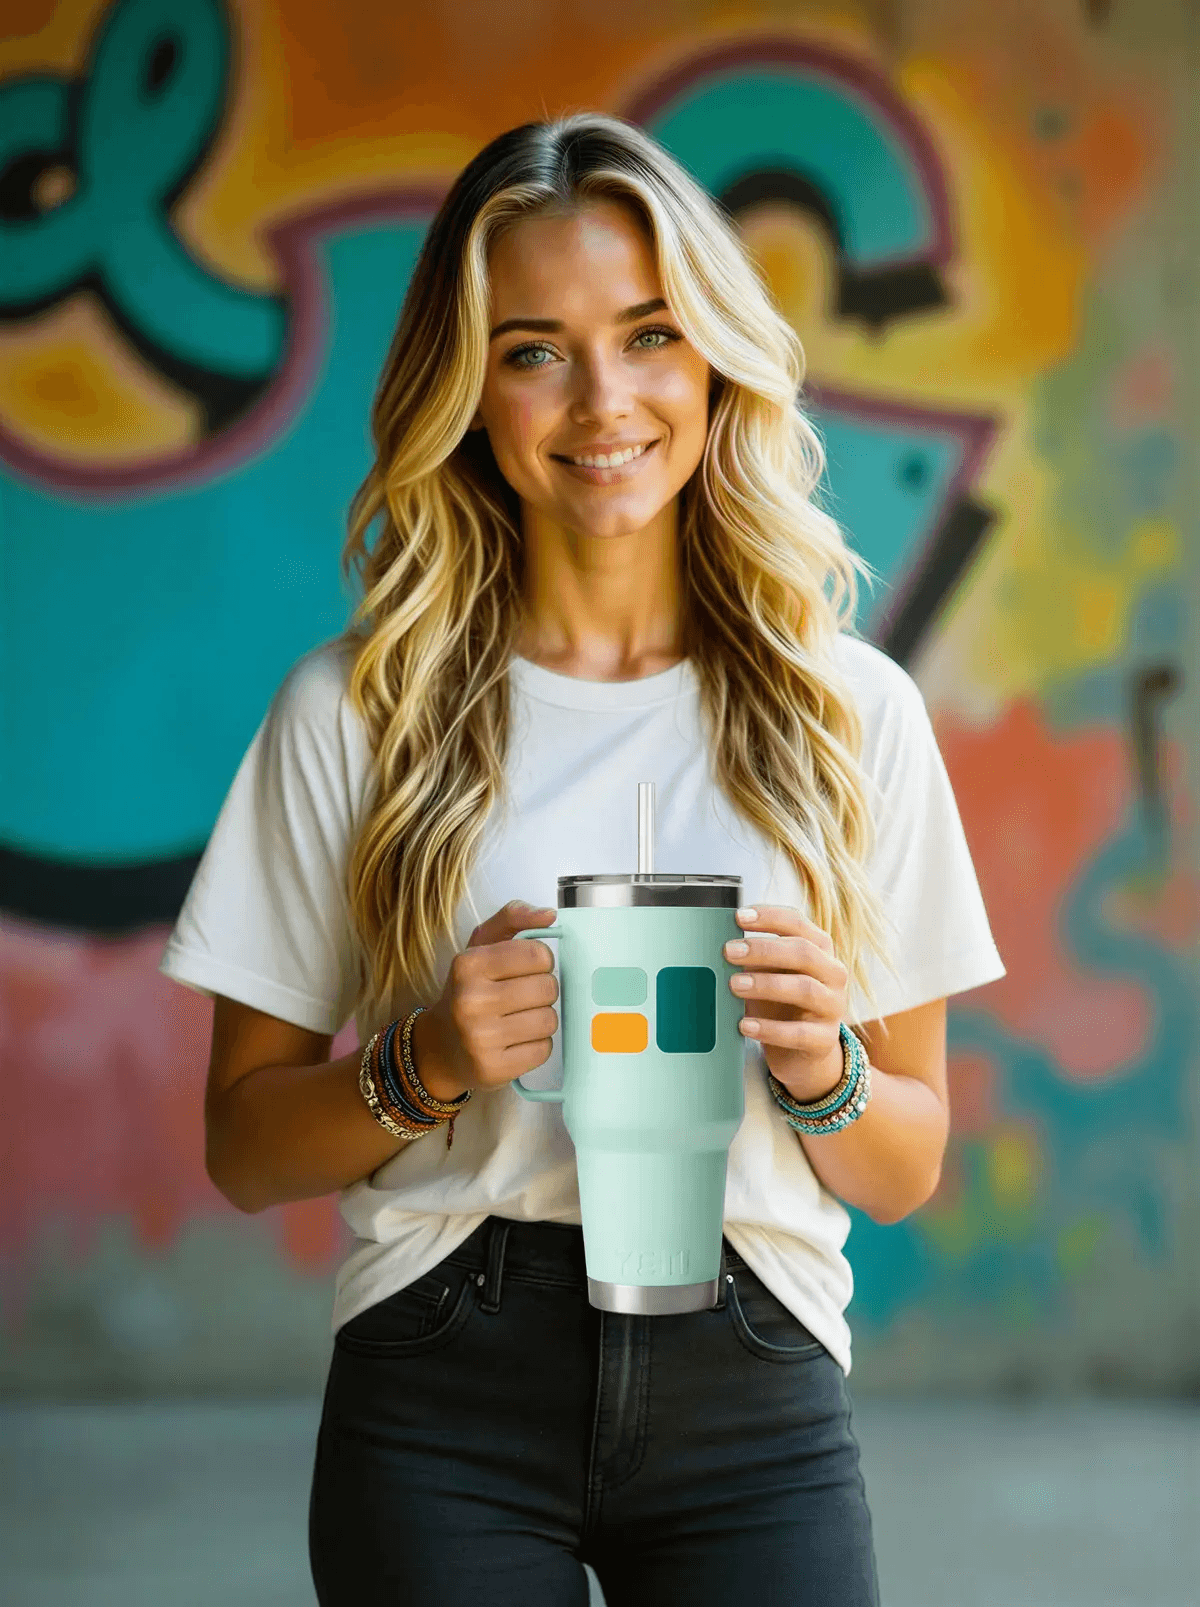
Combine Images with AI
"Make the woman hold this mug in her hand"
[provided mug image]
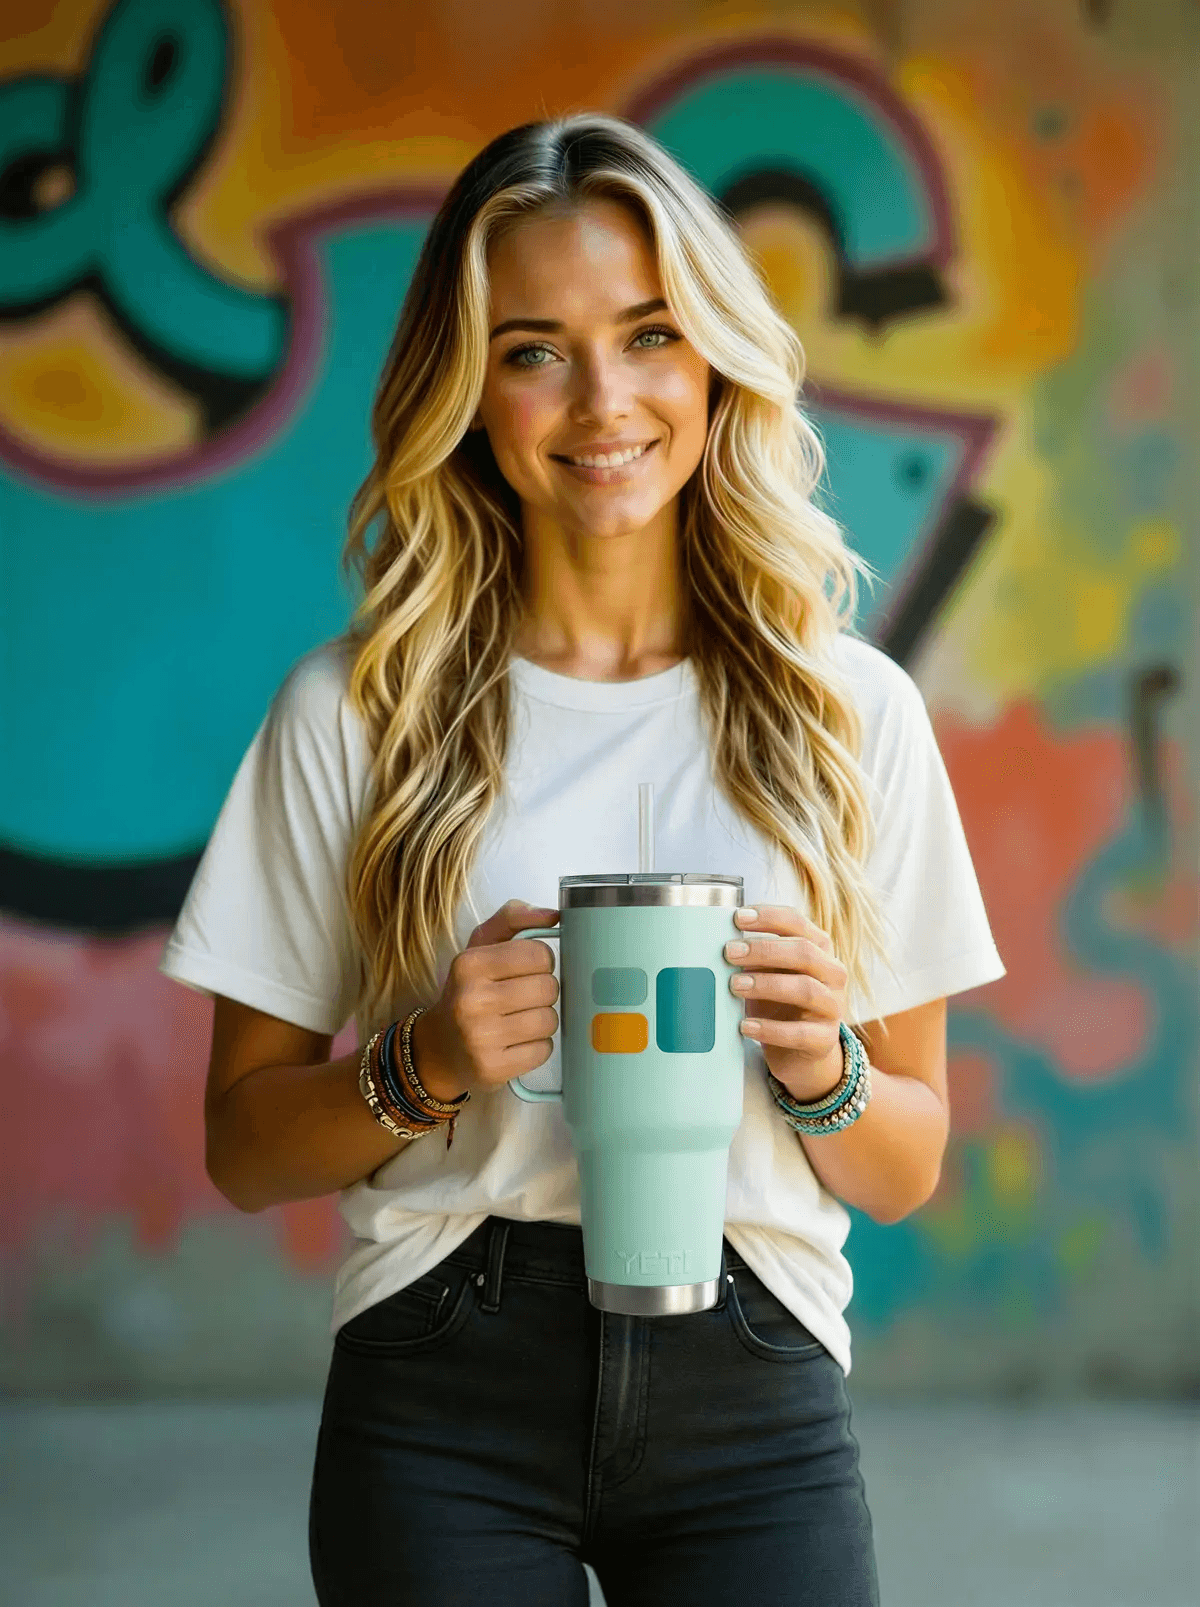
Photo Edit
"Make the mug real, fix the lighting, fix the textures"
Keep AI Character Consistency Across Shots
Need multiple video shots with:
- The same clothes
- The same background
- The same influencer look?
Here's the best approach:
- Create one strong base image
- Use Edit Photo to change:
- Camera angle
- Shot type (close-up, medium, full body)
- Turn each edited image into a video
Important warning
Avoid editing an edit of an edit too many times. After several generations, image quality can degrade. When in doubt, go back to the original base image.
Base photo

Photo Edit
"Change the photo into a full-body picture. Keep the character the same, change her pose as if she was walking towards the camera. She's wearing white sneakers"
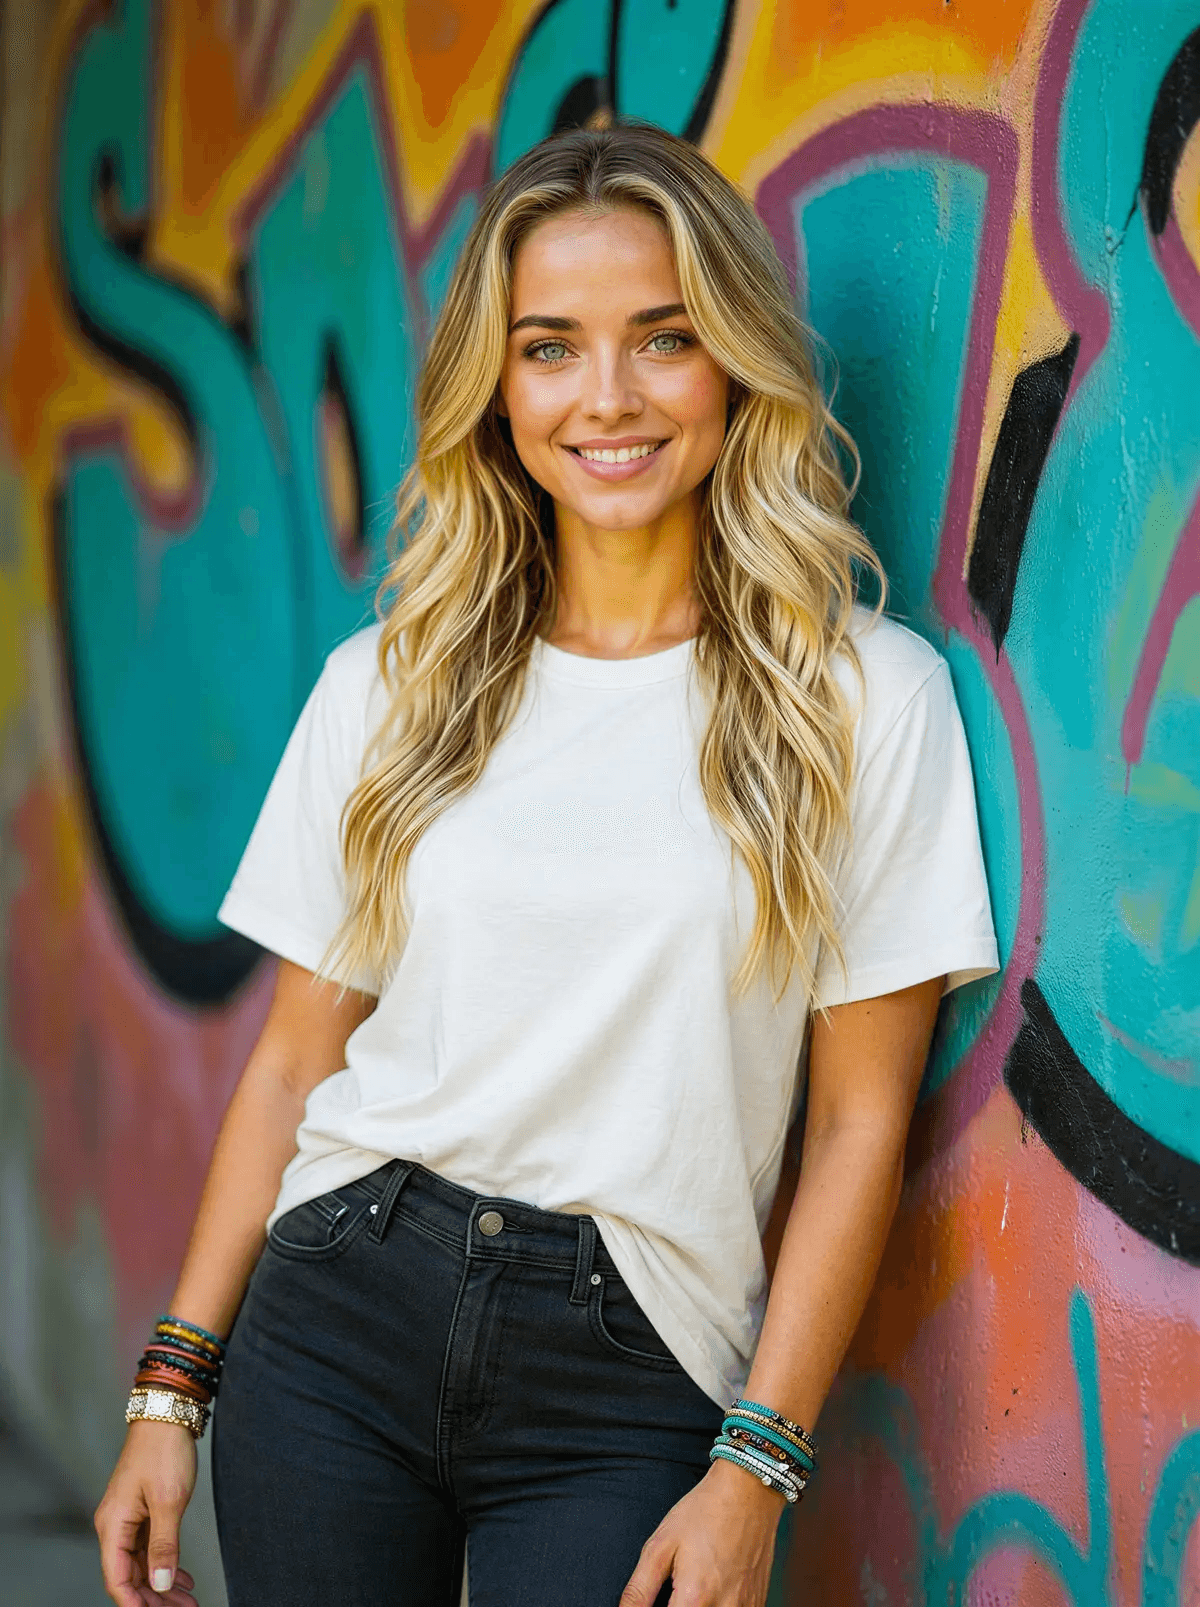
Photo Edit
"Change the photo into a medium shot. The woman is leaning against the wall. Keep everything else the same"
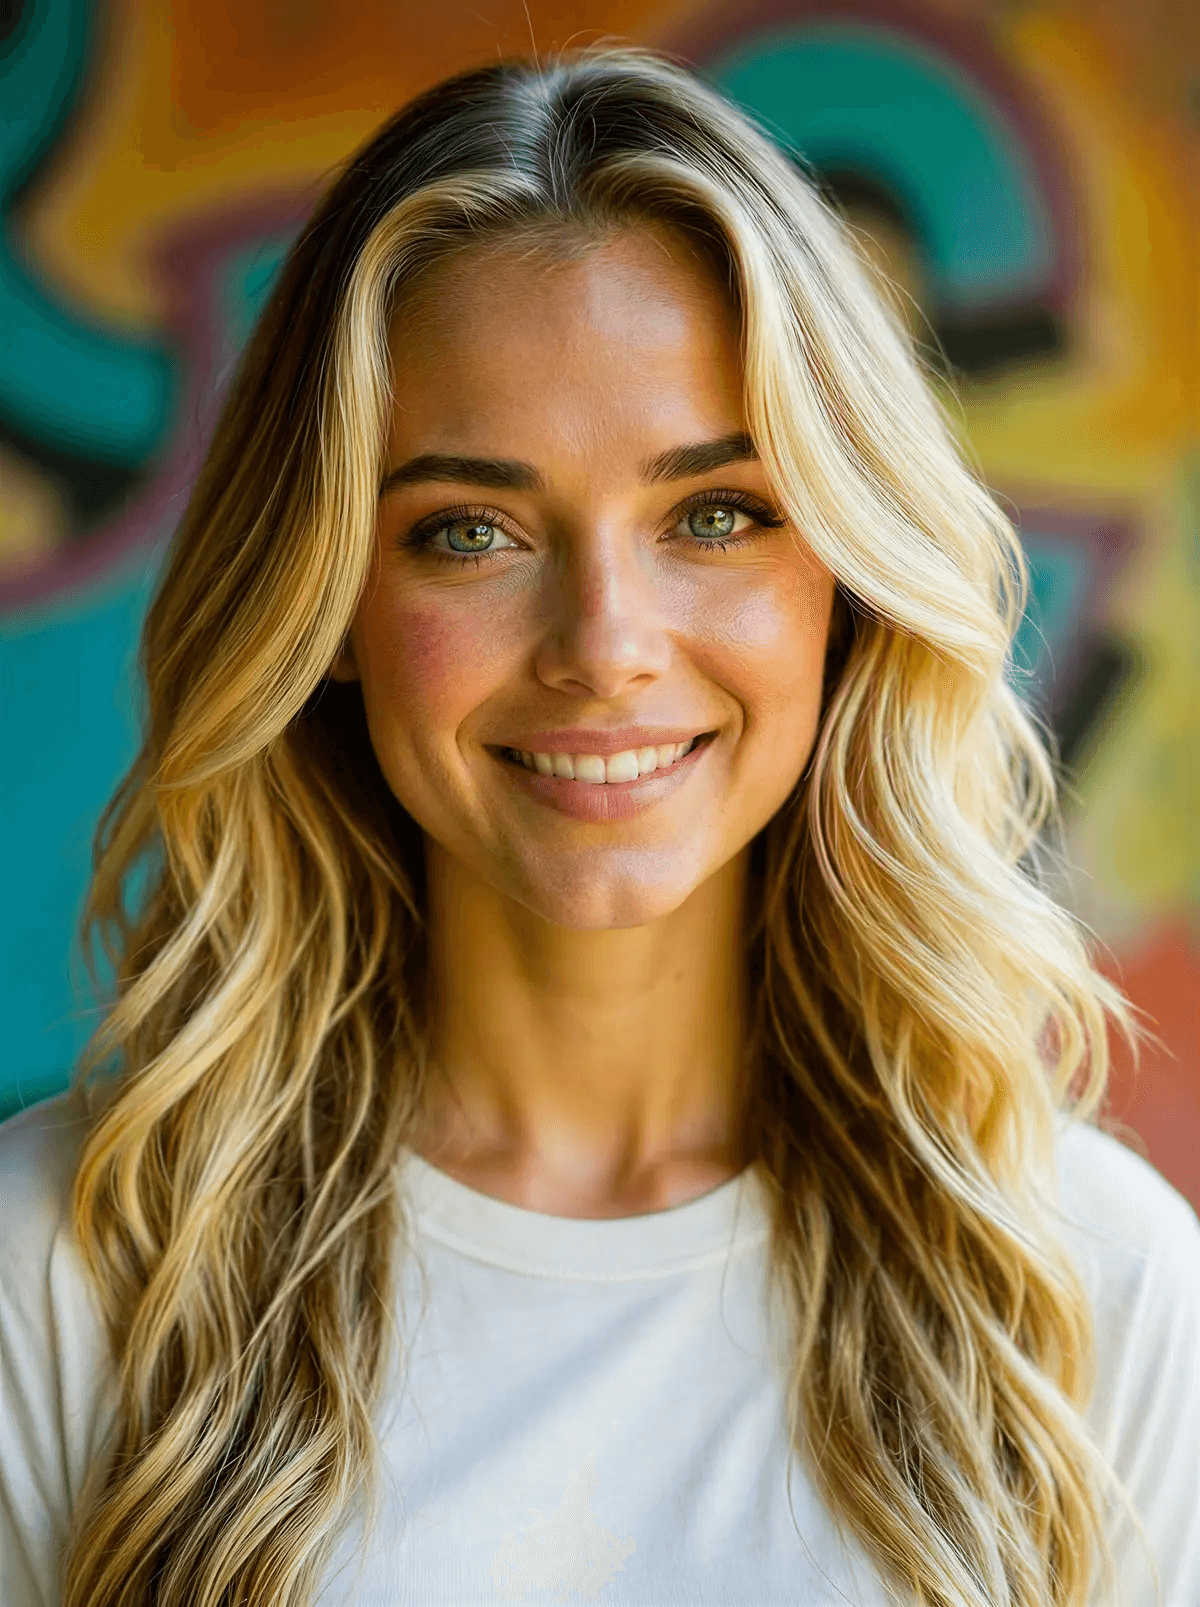
Photo Edit
"Change the image into a close-up. Keep the character the same"
🚀Want to go viral like Aitana Lopez?
Consistency is the #1 secret behind Aitana Lopez (the AI model making €10k+/month). We wrote a guide on how to build, train, and monetize a character just like her.
Final Result: Realistic AI Talking Video Example
The video below was created from five different shots, all using the same workflow:
- Generated one base image
- Created four alternative shots using Edit Photo
- Applied the "Make it real…" prompt on selected images and upscaled where needed
- Generated videos for each image
- Added lip sync to each clip
The result: a clean, consistent, professional talking video — without actors, cameras, or reshoots.
Ready to Try It Yourself?
If you apply these tips from the start, you'll:
- Get better results faster
- Waste fewer credits
- Create more realistic, high-converting videos
Give it a try — and you'll see the difference immediately.
Frequently Asked Questions
Why do AI talking videos look unnatural?
AI talking videos often look unnatural because the base image doesn't show teeth, the video model wasn't told the person is talking, or the starting pose is too stiff. Following proper workflow steps significantly improves results.
How can I get better lip sync in AI videos?
Start with a smiling image where teeth are clearly visible, and include "The person is talking" in your video prompt before applying lip sync. This helps the AI understand mouth movement patterns.
How do I make AI-generated images look more realistic?
Use the Edit Photo feature with the prompt "Make it real, fix the lighting, fix the textures" while keeping Maximum Fidelity enabled. Then use Upscale to sharpen details.
Why is my AI lip sync mouth blurry?
Blurry lip sync usually happens when the base image doesn't show clearer teeth. The AI struggles to animate a closed mouth. Start with a smiling base photo (teeth showing) to fix this.
Why do the teeth look weird in AI talking videos?
Weird teeth occur when the AI has to "guess" what's behind closed lips. Provide a base image with visible teeth so the model has a clear reference for realistic animation.